Showing posts with label DIY. Show all posts

Wednesday, September 12, 2012

Beauty Bar: DIY Oat Honey Milk Bath

I have had such a busy couple of weeks so last night I decided to try this relaxing bath treatment I found on SudaBeauty. OMG what a treat! I will do this every time I have a long day from now on. Great way to have add some luxury to your busy life and have a spa day at home!


What you'll need:
  • 1/2 cup of rolled oats
  •  1/3 cup of dry milk
  • 2 tbsp. of honey
  • Cheesecloth
  • String
 Mix together all the ingredients in a bowl. Pour into cheesecloth and wrap with ribbon. Tie ribbon around the faucet and allow water to run through the cheesecloth. Relax and enjoy!

Tuesday, September 11, 2012

Design Den: How to Refinish a Kitchenette Set

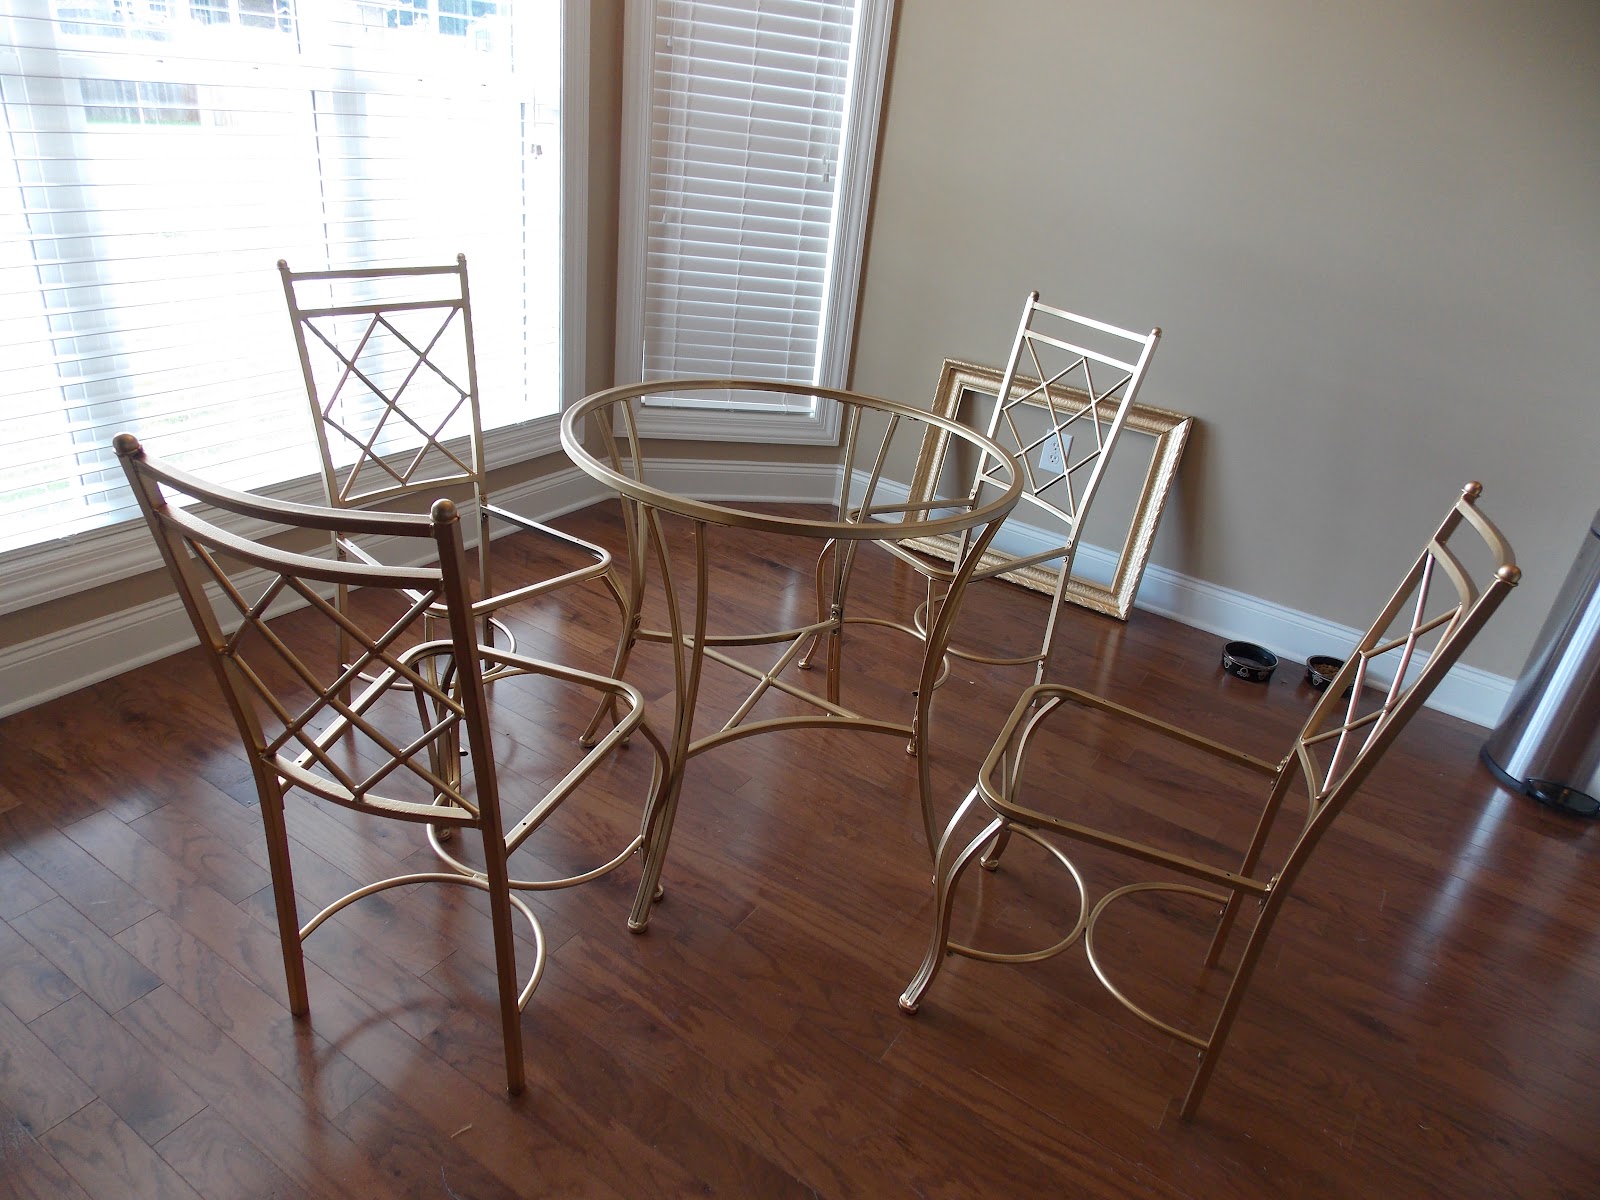
I've been wanting to do something to spice up my college dining room set that now resides in my breakfast nook for a while now. So today I decided that I would take the plug and attempt to refinish it. I ordered this great fabric weeks ago but had no plans for it so I decided to use it for this project. What I found was that this project wasn't hard at all. Below is a tutorial on how you can do a fabulous kitchenette refinish in a matter of hours for under $50 bucks.


What you'll need:
  • Staple Gun
  • Fabric
  • Spray paint 
  • Screwdriver


STEP 1: The first step in transforming this kitchenette set from drab to fab was to remove the glass top from the table and seat cushions from the chairs. The glass just slides off easily but I had to unscrew the chair frame from the cushions in order to prepare for painting.
 STEP 2: Next I took both the table and chair frames outside where I spray painted them all with a gold household spray paint. It took 4 cans to coat each piece twice.


I found this great fabric at House Fabric that worked great for this project. The fabric was kind of pricy but the quality was exceptional and well worth the price. I only needed a yard to cover all four cushions. 


STEP 3: Next I decided on the pattern orientation and I cut the fabric into 4 sections with roughly 3 inches of fabric around the cushion to allow ease of stapling. 

STEP 4: After cutting the fabric, I used the staple gun to adhere the fabric to the cushion. The corners were the most difficult part but I just pulled them as tight as possible and worked my way around until they were covered completely.


STEP 5: After covering all the seat cushions and I screwed them back to the frame and WAALAA a masterpiece!!!!


Monday, September 10, 2012

Beauty Bar: How to get a SUPER Bright Smile at Home

A bright smile is the best accent to any great outfit! Check out this DIY celebrity secret for a brighter whiter smile in minutes!


All you need is:
  • Strawberries
  • Bowl
  • Potato masher (fork will do)
  • Baking soda
  • Toothbrush
  • Knife 
  • Spoon


 STEP 1: Chop about 6 strawberries into small pieces.
 
 
STEP 2: In a bowl, mash strawberries until you get a juicy jam consistency.
 
STEP 3: Add a spoon full of baking soda and mix together until you get a paste consistency. It may begin to foam.


STEP 4: Next, add some of the paste on your toothbrush and brush for five minutes. After time has past spit out remaining paste. Do not swallow any of the paste. 


The paste doesn't taste that great but it works and it's completely natural! Repeat every day or every other day depending on tooth sensitivity. You will see amazing results after about two weeks!

 
BLOG DESIGN BY DESIGNER BLOGS